Eco-culture
About this Program
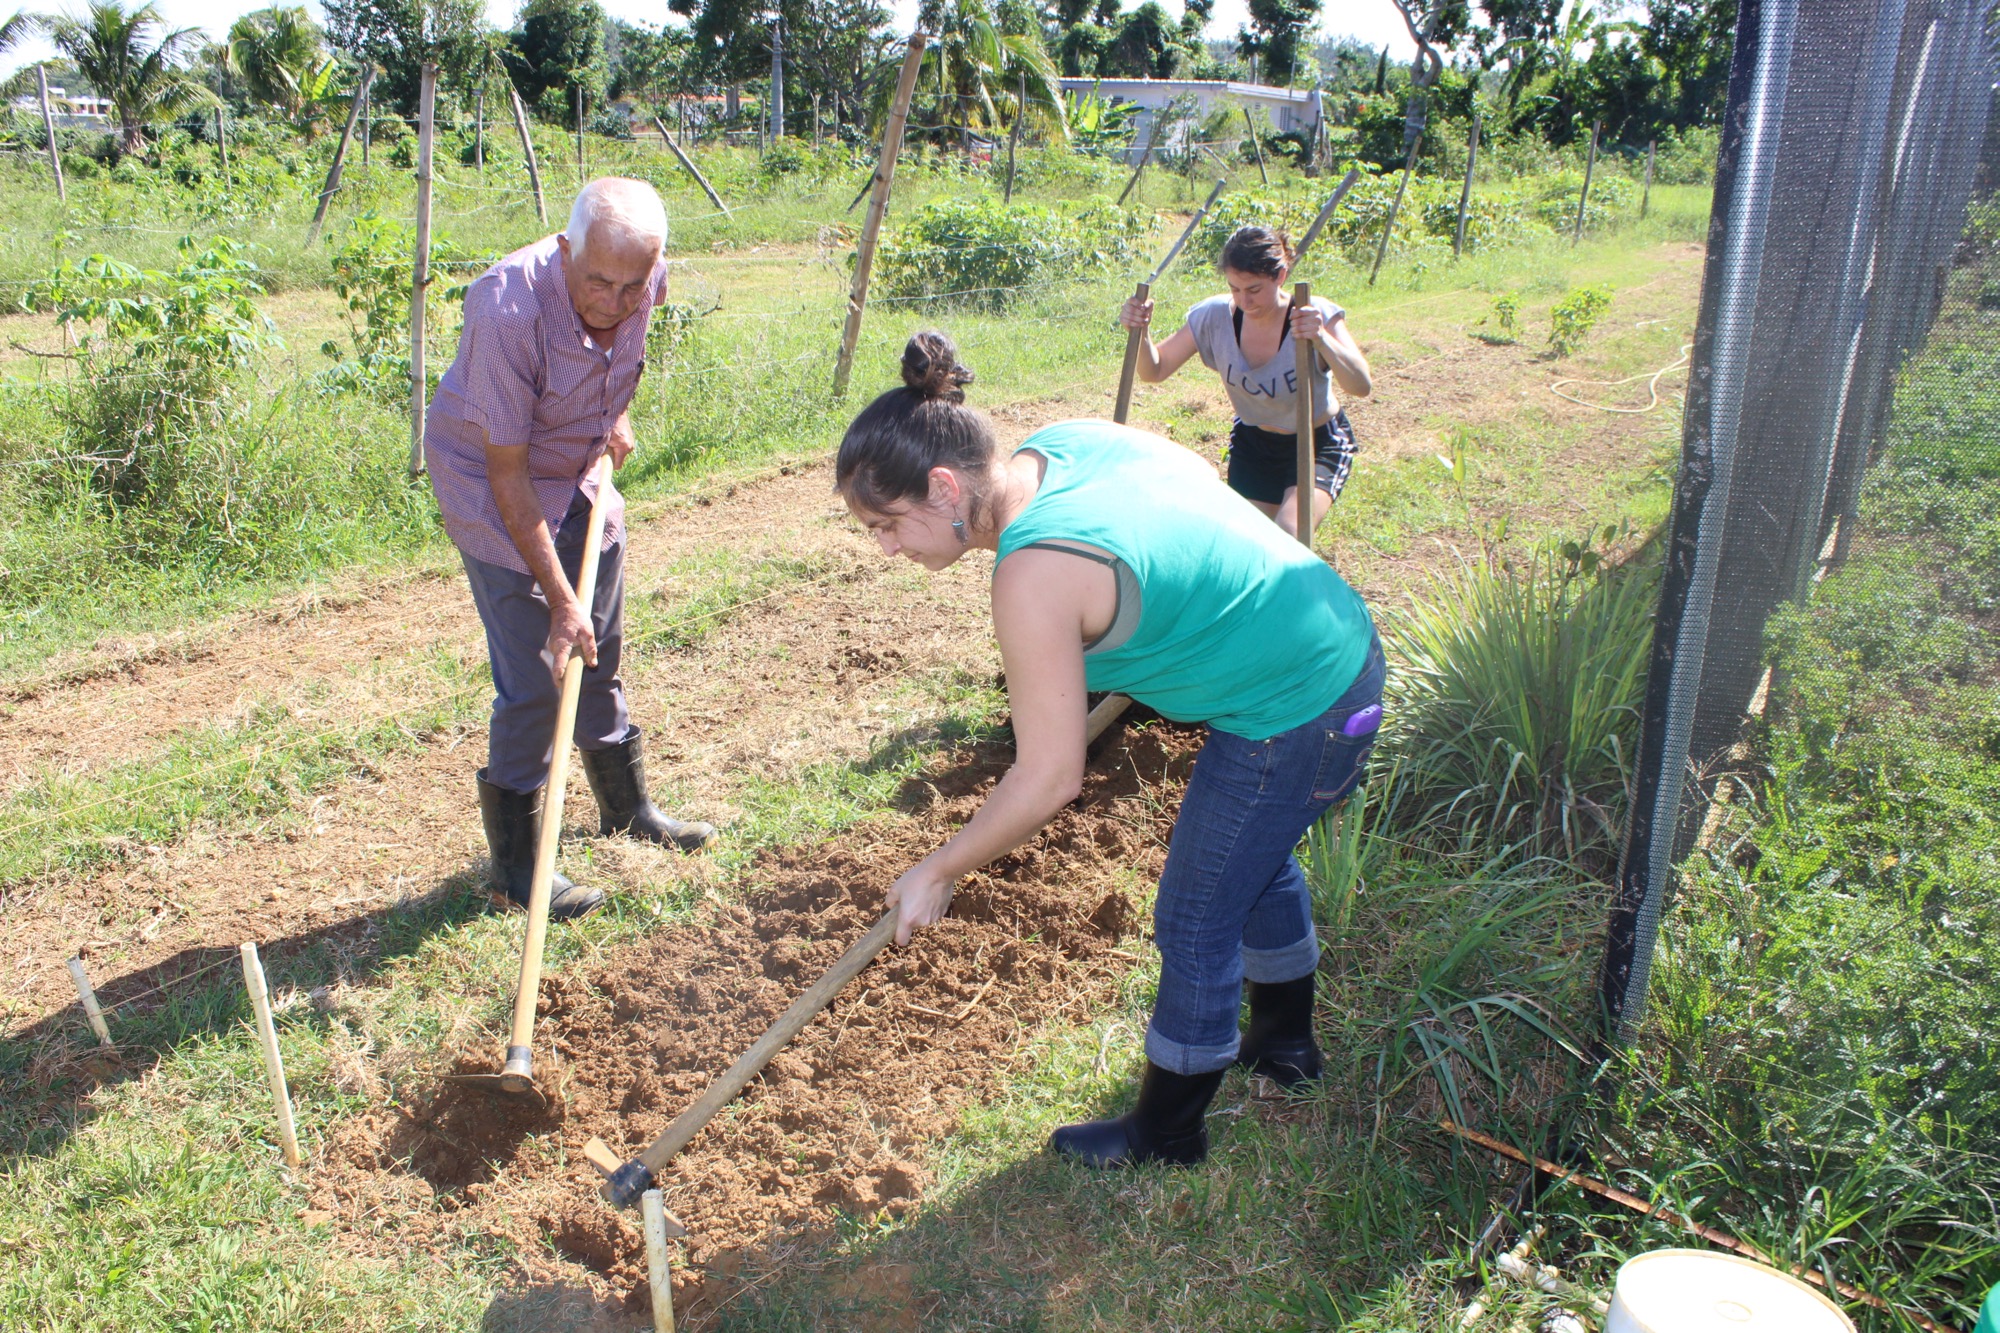
Without clean water, clean air, clean food, a healthy environment and sustainable and regenerative design practices, cultures cannot survive. We recognize the essential role that sustainable living and eco-consciousness plays in the preservation of culture and of life itself. Raíces Eco-Culture programming fosters exploration, study and application of ecological, sustainable, and “green” living practices for individuals, families and communities to build a future where culture and nature can flourish and thrive.
Raíces Eco-Culture public programs will resume in 2024. In the meantime please check out our related resources below!
Explore Our Eco-Culture Resources
Ask questions, post links and resources, connect with like minded ecocentric individuals from throughout the world.
View Group
Join the Raíces Eco-Culture Facebook Group
Raíces is a proud partner in the Highland Park Public Library Seed Library. Stop at the Seed Library table every Friday at the HP Farmers Market for seeds and information!
Highland Park Library Seed Library
Organic NON-GMO and Heirloom varieties available on our Raíces Eco-Culture Seeds Now affiliate shop.
Buy Now!